My mother came up for Christmas this weekend.
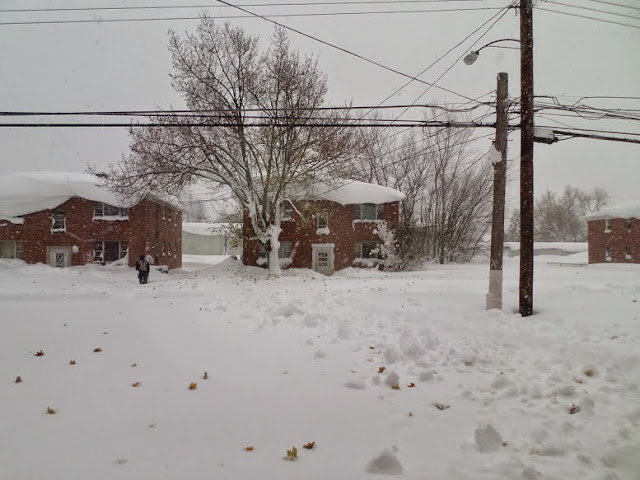
For a lot of reasons, including the notoriously unstable Buffalo December weather and scheduling, I haven’t had Christmas with my family on Christmas proper since 2006. For that matter, we had it in October one year for that reason.
This year, my dad would like me to go home-we’ll see how well that works out. But my mom came up this weekend and we included her in some of our yearly traditions.
Every weekend after Thanksgiving Mid and I go downtown to the Festival of Trees. I have to admit to my photography-I was really excited because on my phone (Mid had the Nikon) my photos looked great. I loaded them onto the computer…and it’s fairly obvious that I have a very minor hand tremor. I don’t think any of them came out truly crystal clear.

Part of this trip is drinking bad coffee. The Festival is held fairly close to the Chippewa Spot, we could get decent coffee. But we always get the slightly burned hotel coffee and look at the lights in the atrium.
Later that night we went to the Lady of Fatima shrine in Lewiston. I have to be honest, I didn’t even know that this shrine exists. But a priest went rogue (seriously, the Church tried to get him to stop but the community liked it too much and pushed back) and started stringing up Christmas lights around the shrine. There is a giant light up camel in the nativity scene. I need to see if Mid’s photos came out.

My mom got me an advent calendar. She got me one every year, and while I wouldn’t have said this to her, I had commented to Mid that it made me sad that she didn’t get me one this year-even if I’m on the closer to 30 end of 29. I was going to buy one for myself this weekend. She got me one at the shrine. She also got me a Marion statue and a Marion rosary-I have a very strong draw to Mary, especially this time of year.
Monday was quiet-she had gotten us tickets to the Pops concert for a gift, so she also got me a new silk to wrap with. But we took her to Amici’s for dinner. We only go to Amici’s at Christmas time. I don’t know why, you can quite easily walk there from our building. It was a magnificent meal. Yes, it earned overblown adjectives.
———
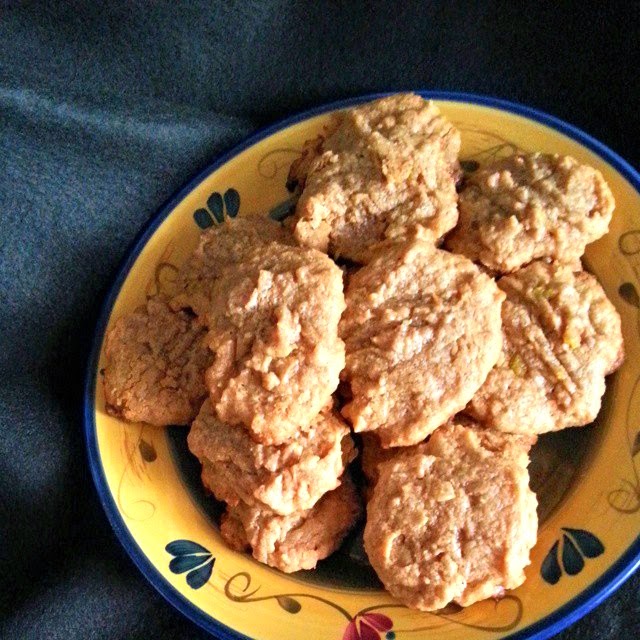
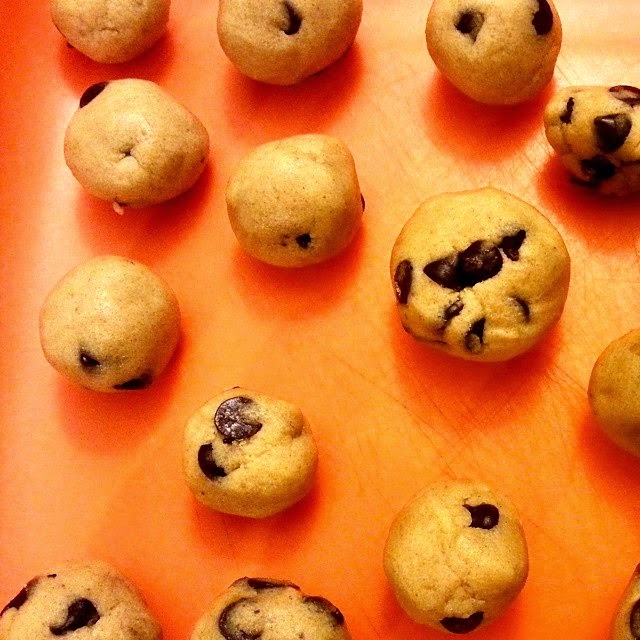
Flourless Peanut Butter Cookies
I honestly don’t know if I can use overblown adjectives for these cookies. But if you’re looking for a simple, grainless peanut butter cookie-or a recipe that’s beginner baker friendly-these come out well with a slightly fudgy middle.
This is also a small batch recipe. I got 18 fairly small cookies out of it.
*My only tip is to either take the cookies off of the pan while still fairly warm or use parchment paper. I didn’t and left chunks of cookies behind.
1 cup peanut butter-I always use creamy because it’s what we have, but you can use chunky
1 cup brown -or- white sugar-I used brown because I had made a batch this weekend and wanted it gone before it dried out
1 egg
1 teaspoon vanilla
Preheat oven to 350
Mix everything in a stand mixer or by hand-you could cream the butter and the sugar, then add the vanilla and the egg, but honestly, this is a just dump in the bowl cookie for me.
Drop by spoonfuls onto a cookie sheet. They’ll spread a little, but not terribly far.
Bake 8-10 minutes. Honestly, I would have pulled mine closer to 8 than 10 minutes, I went my normal 10 minutes for my oven and while the insides are good the bottoms are darker than I like.

Bloggers-I have started a new group board on Pinterest. Open to all DIY, craft, food, or other creative blogs, I would love to have you join. Joining instructions are posted on the board-join here.
Please, stop by this week’s Inspired Weekends (Friday) and Fall into the Holidays (Tuesdays)
Linked to-
skip the housework
be different act normal
cooking with curls